
This is a crucial step for merchants selling internationally with localized pricing and product selections, ensuring your product feeds are always accurate for each country.
What you'll find in this article:
How to set up your Shopify store with Shopify Markets
STEP 1: Add a new shop:
1. In your DataFeedWatch account, navigate to the Shops tab.
2. Click the Add Shop button.
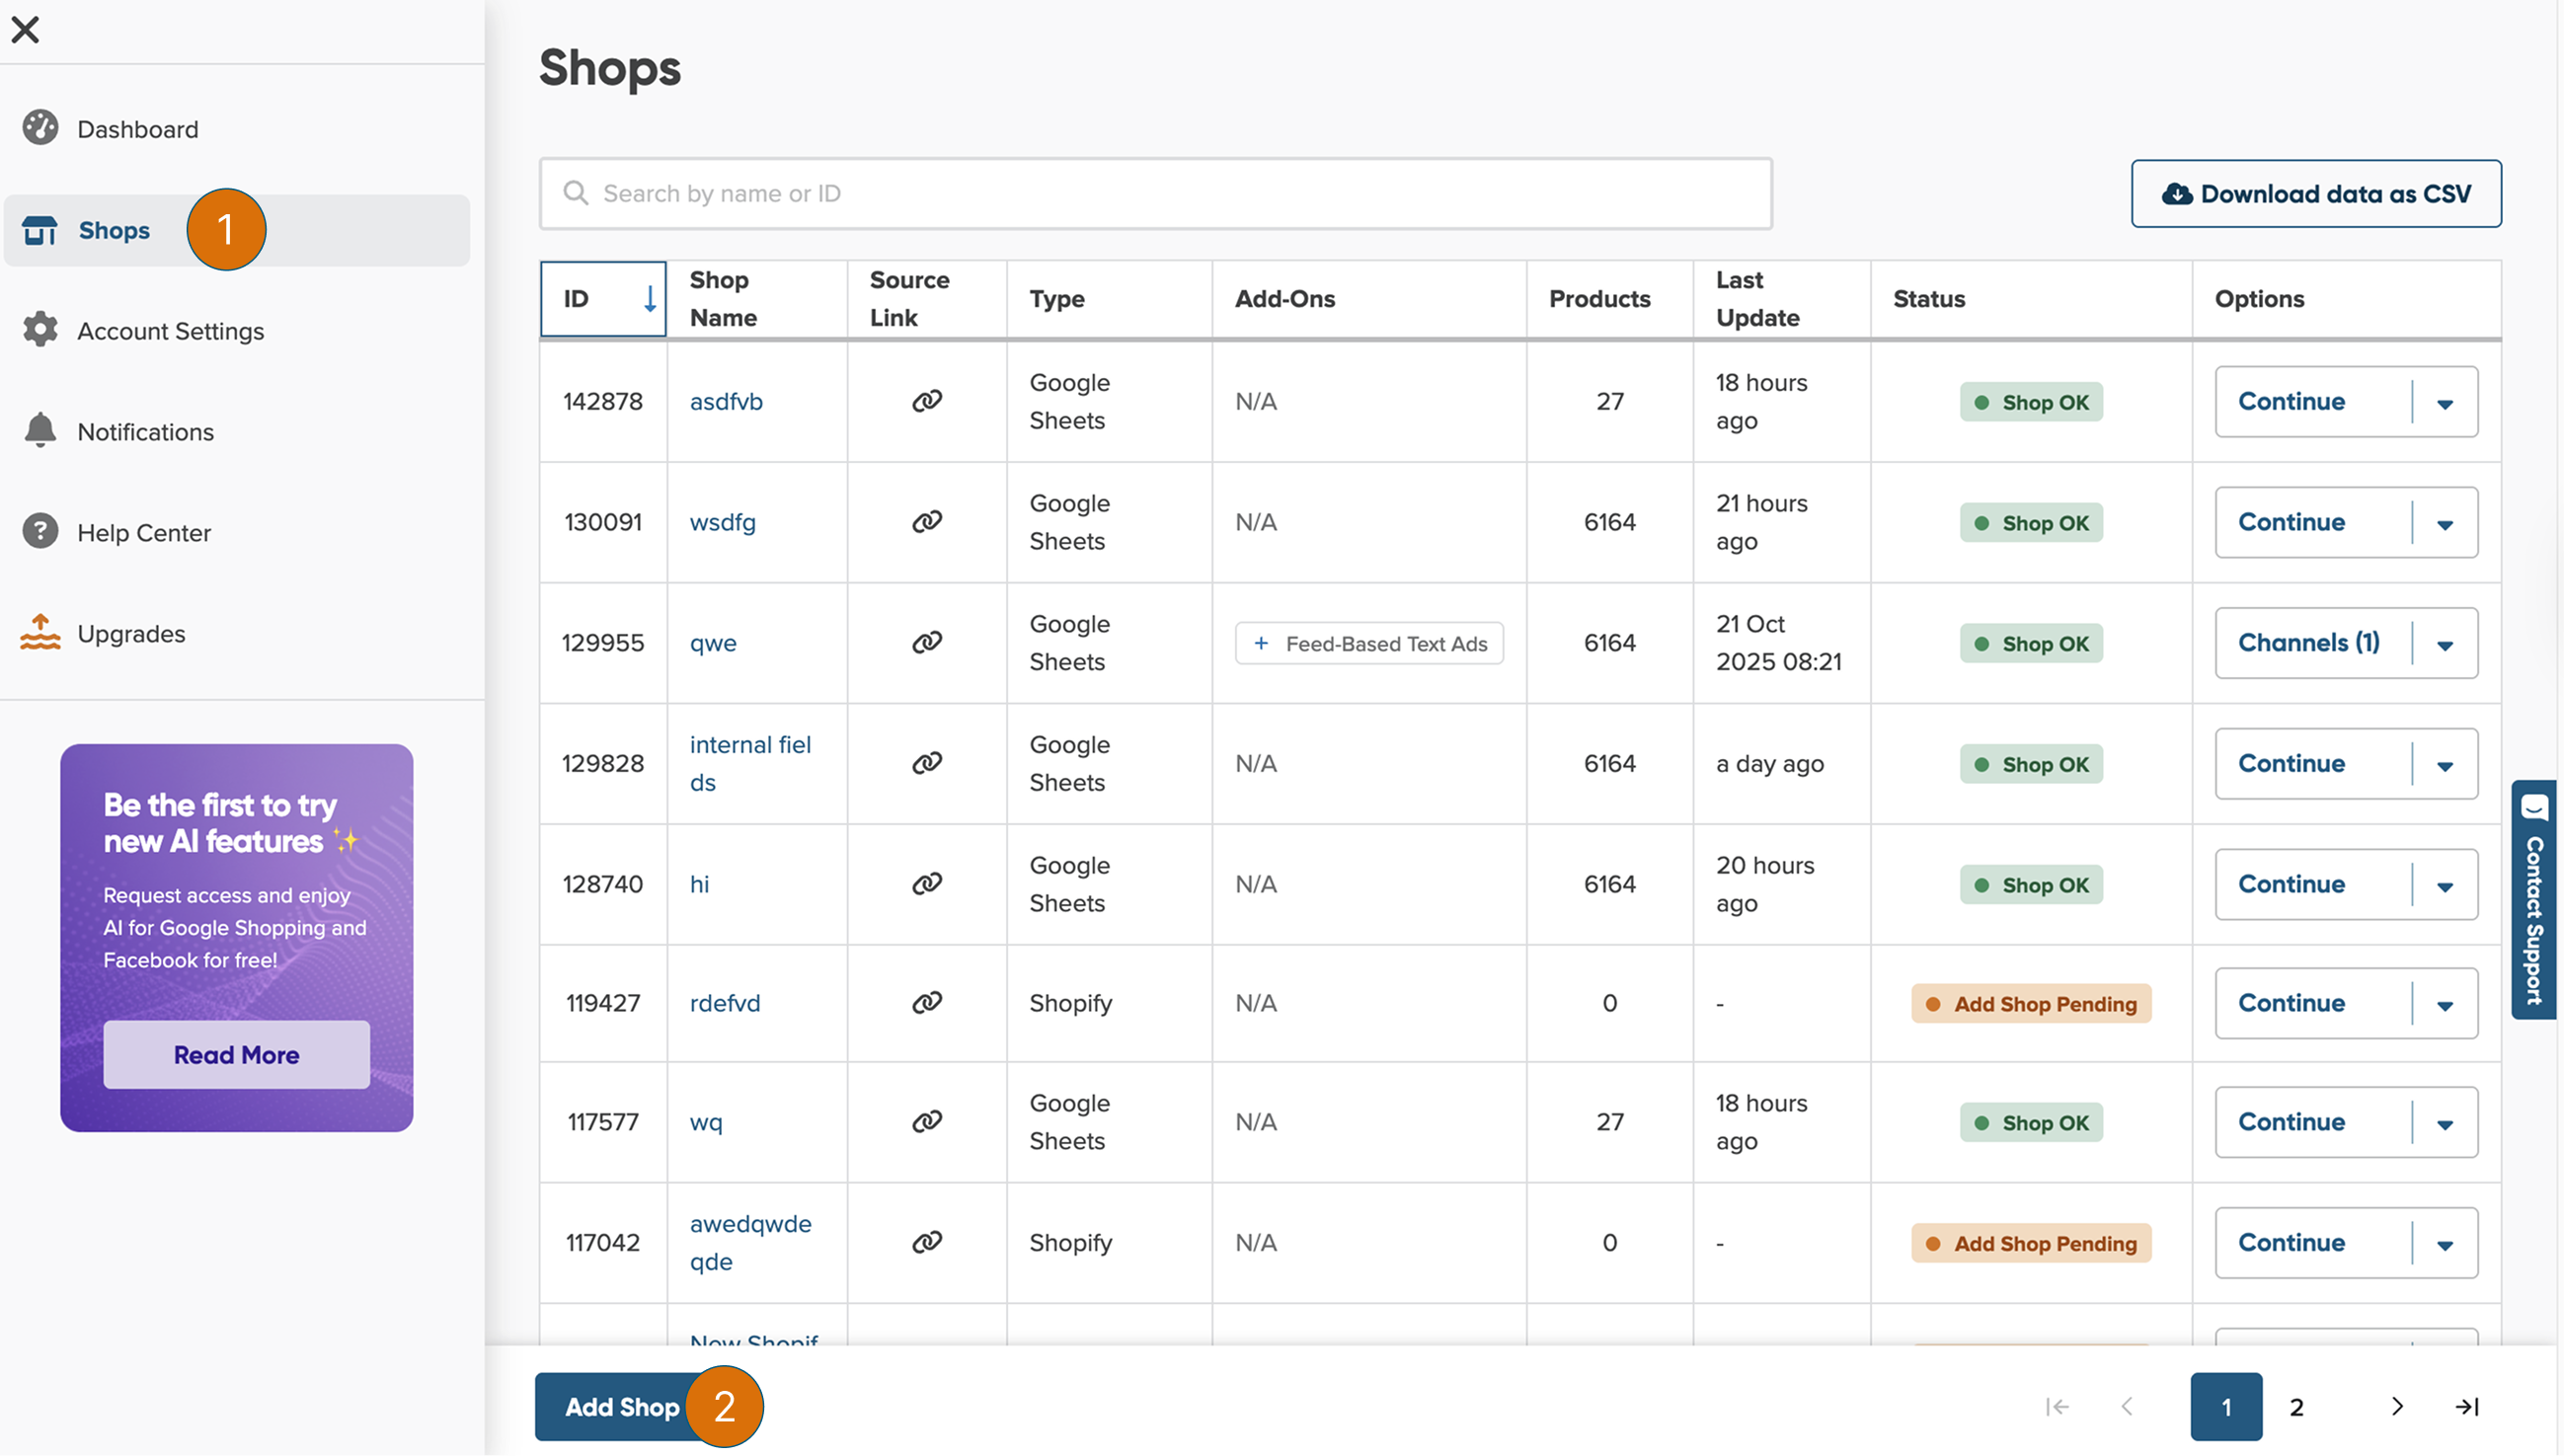
3. Enter a name for your shop, for example, "My Shopify Markets Store."
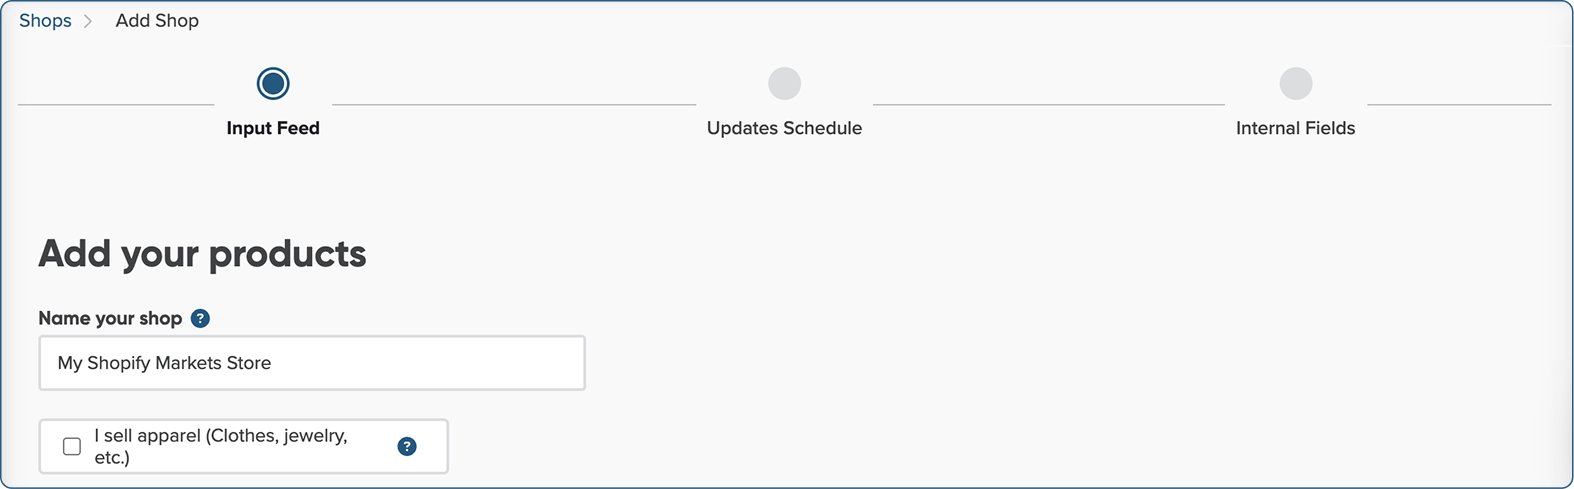
💡 Selling apparel? Tick the "I sell apparel" box below.
When you choose Google Shopping as a channel, we'll adjust the mapping specifically for apparel products. This mapping setup is tailored to meet Google Shopping's unique requirements for apparel, including all essential attributes.
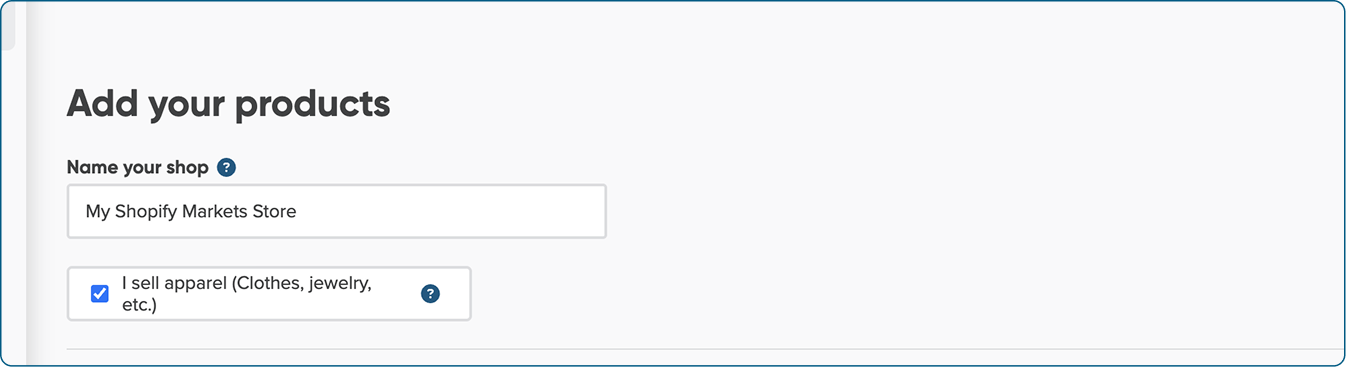
Why should you name your shop?
Giving your shop a name makes it easier to identify among others on your shop list. You can choose any name you like-it won’t affect feed optimization.
4. Select Shopify as your shopping cart.
5. Paste your Shopify URL in the field provided and click Next Connect Shopping Cart

6. We'll ask you if you have credentials to log in to the Shopify admin panel, or not. Select the option that matches your situation.
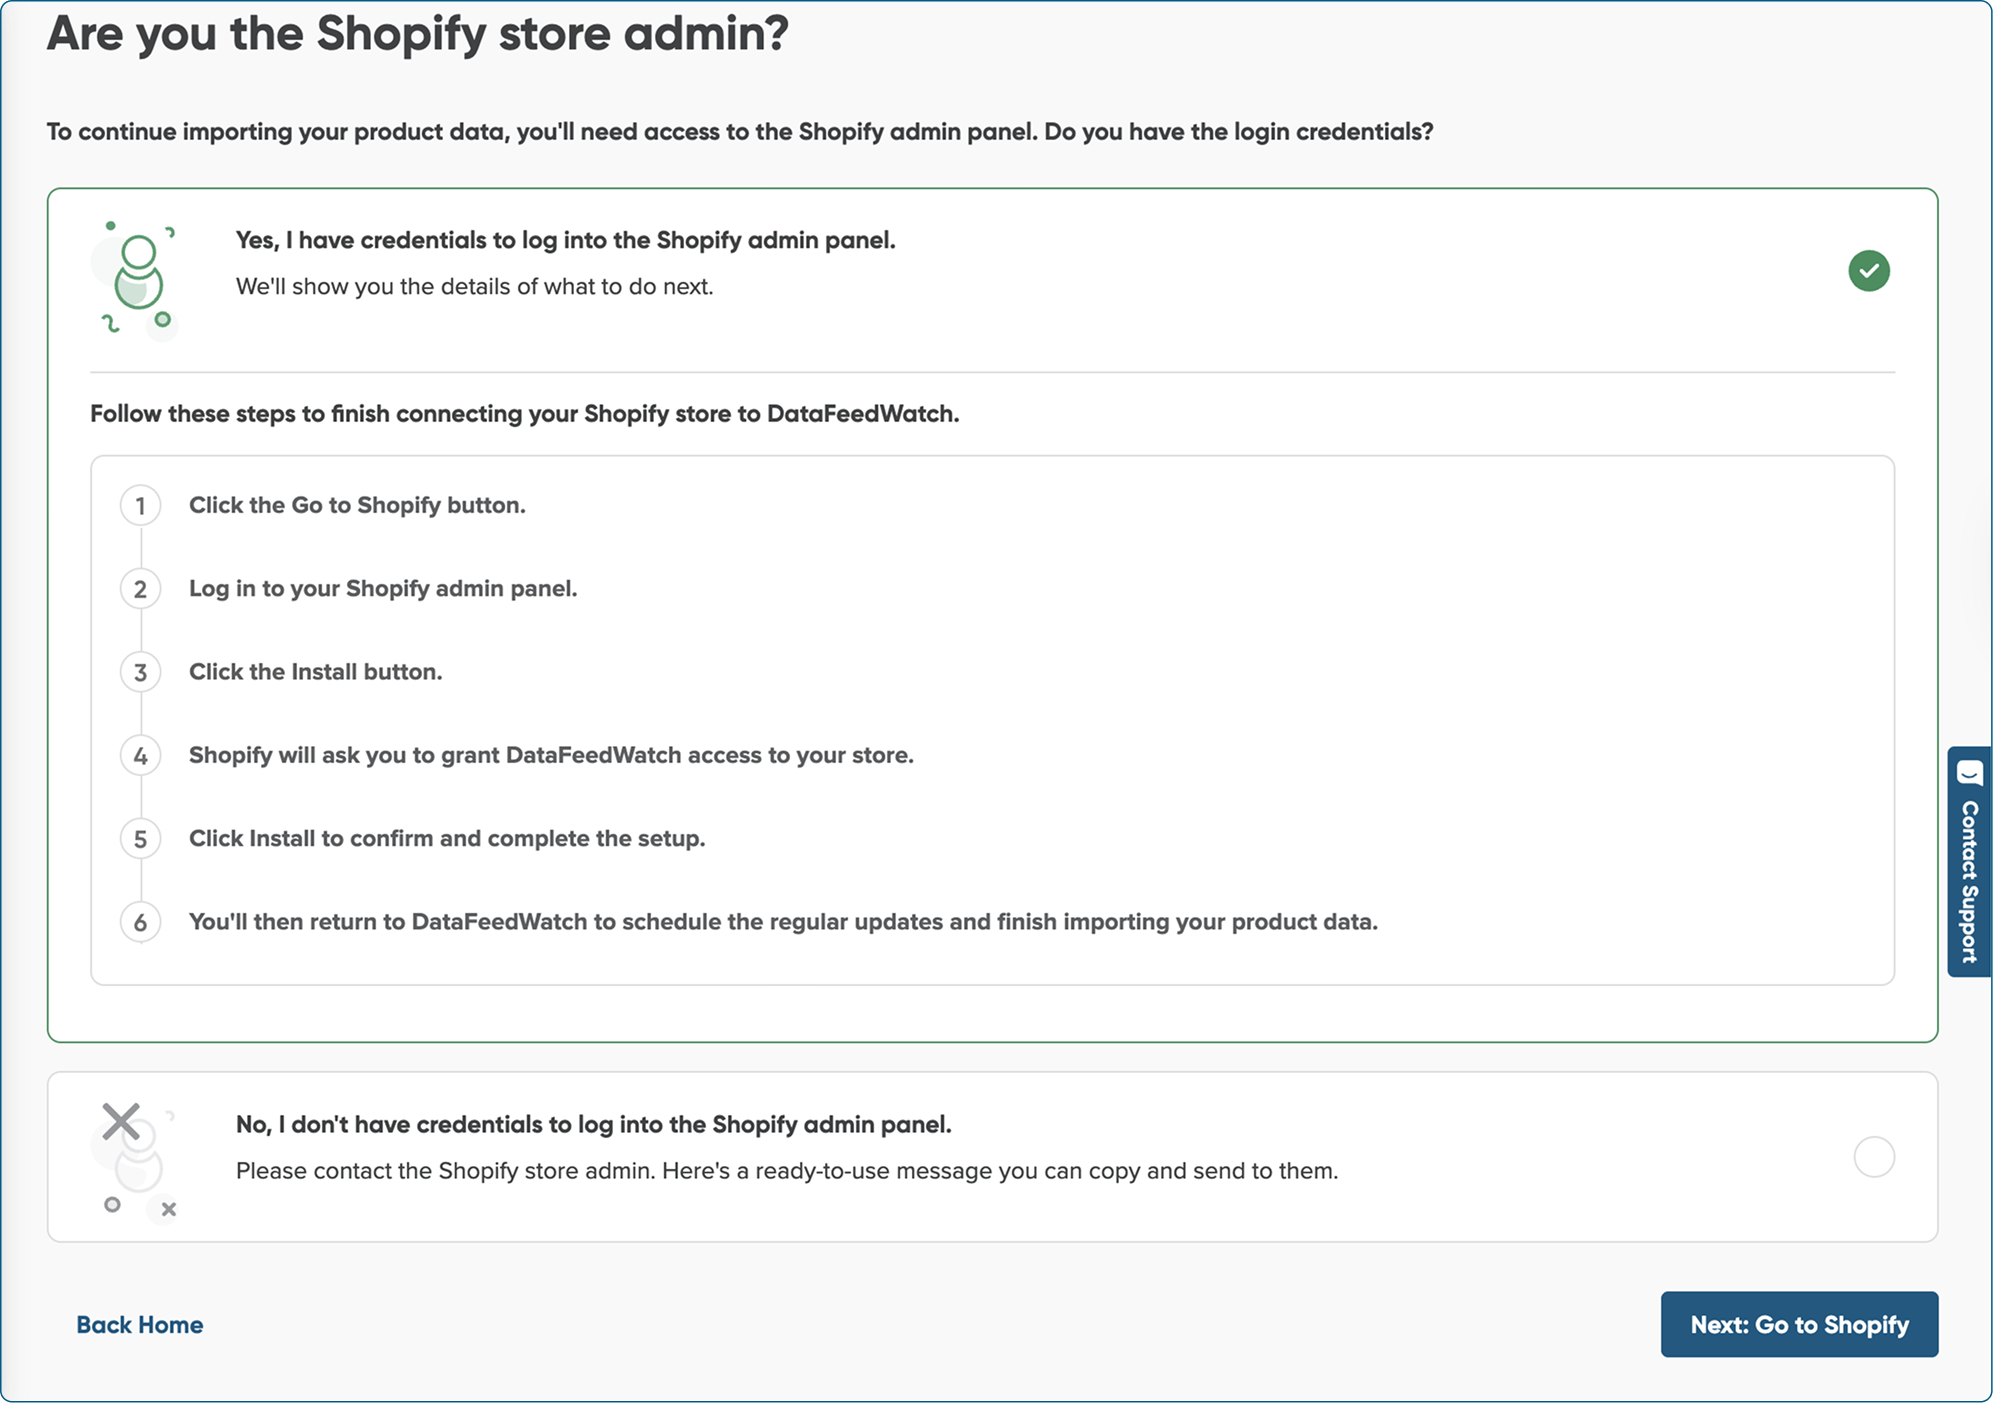
STEP 2: Connect with Shopify Admin
You will be redirected to Shopify to confirm the connection.
1. Follow the on-screen instructions, which typically involve logging into your Shopify admin and clicking the Install button for the DataFeedWatch app.
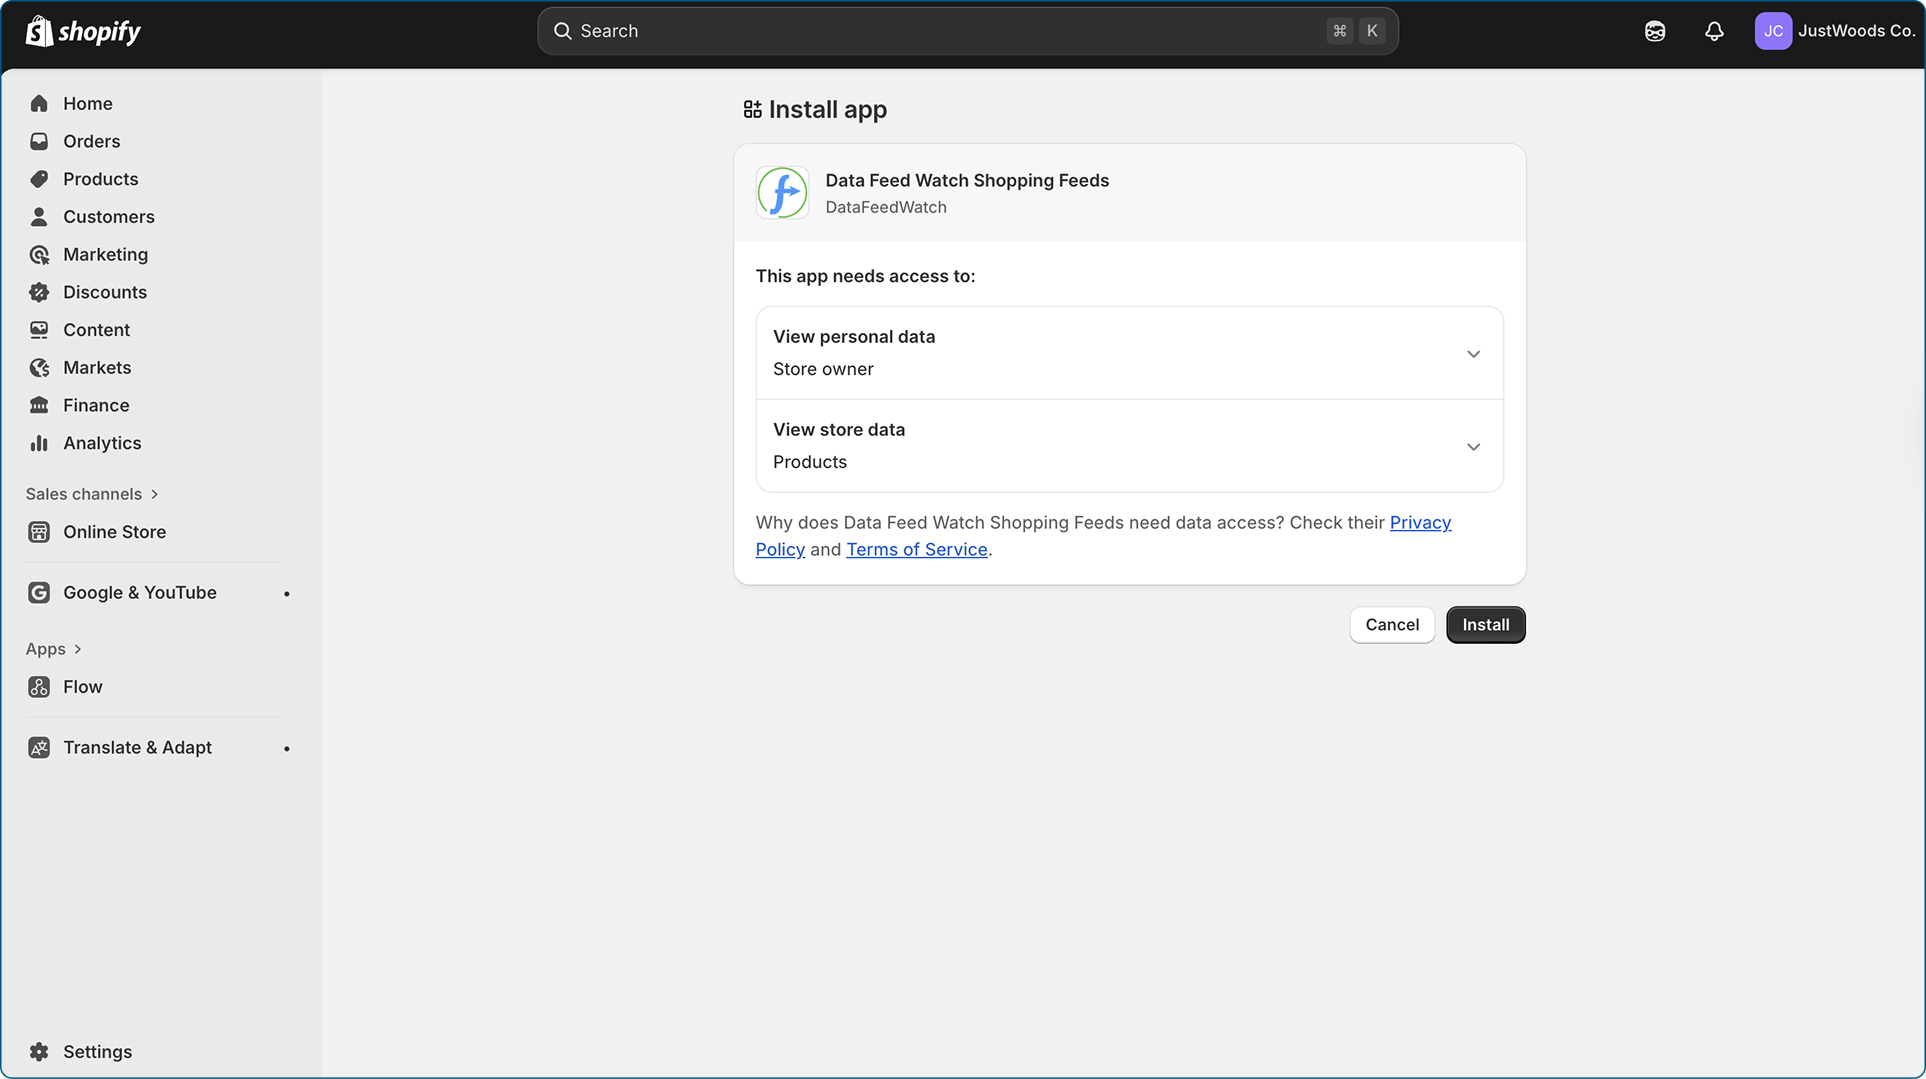
2. Once confirmed, you will be redirected back to DataFeedWatch to the Download Configuration page.
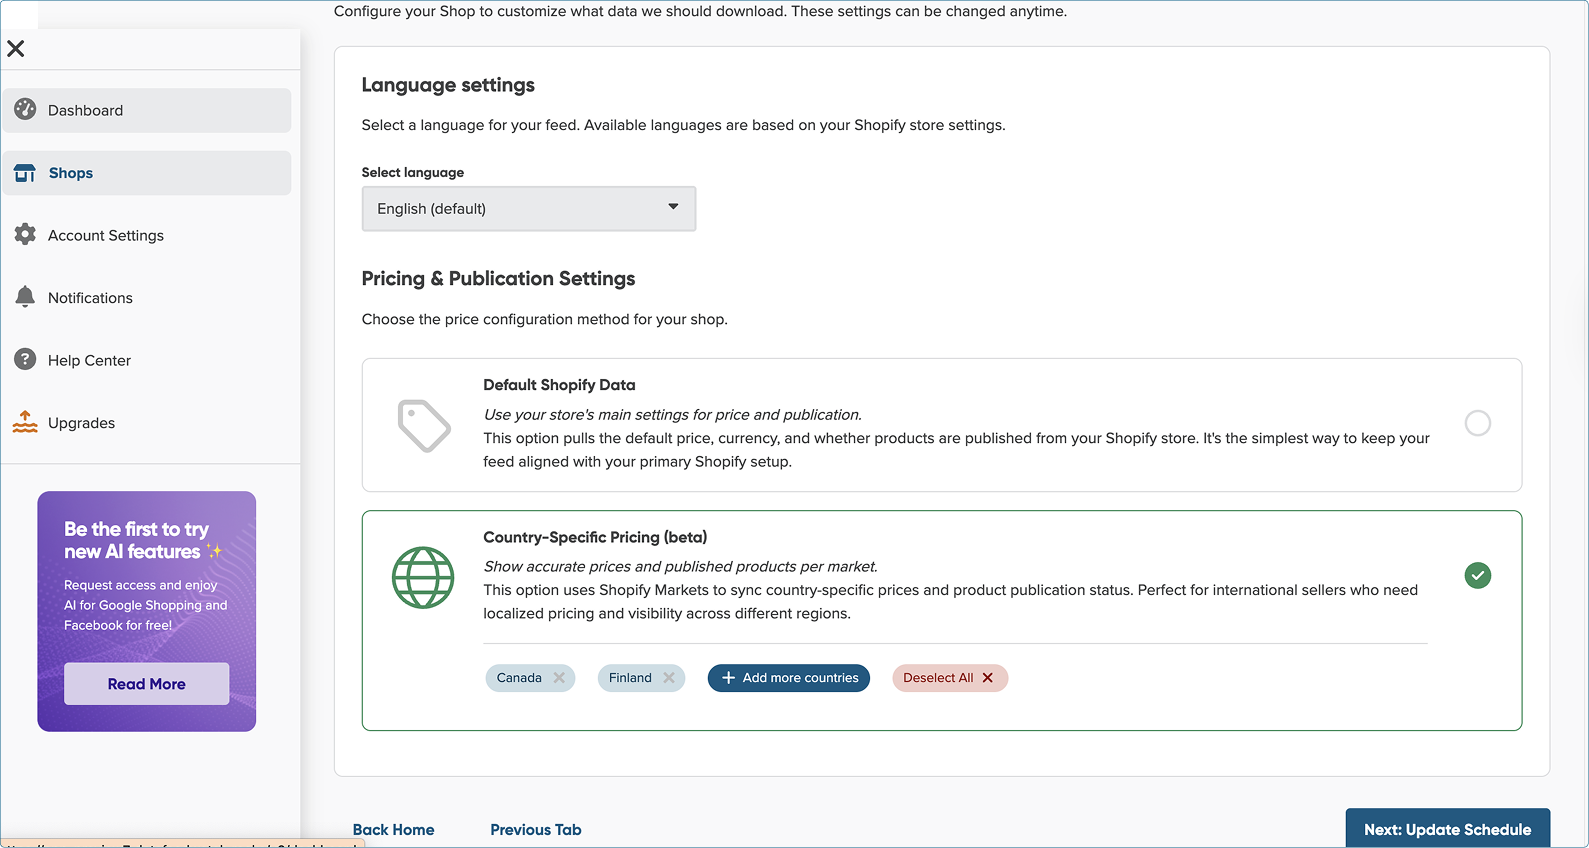
Step 3: Configure your language, pricing, and publications settings
This is where you define the language for your feed, and which markets' pricing and availability information should be downloaded into DataFeedWatch.
1. Language Settings: Select the language for your download.
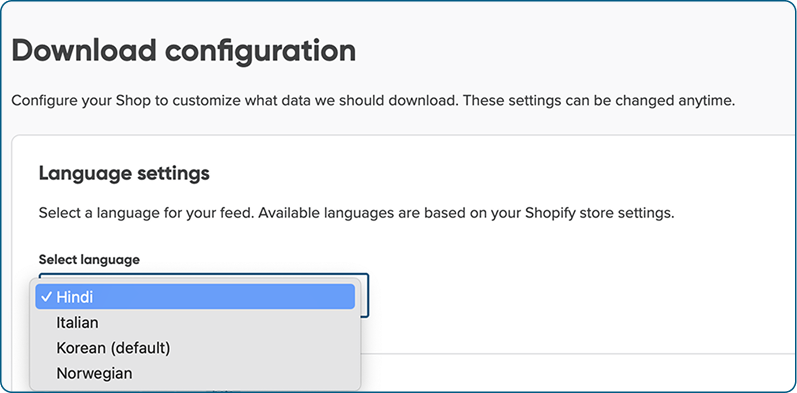
Note: If your Shopify shop has only one language, we’ll set that language as the default.

2. Choose the price configuration method for your shop.
You have two options:
- Default Shopify data – Recommended if you don’t sell in multiple markets and want to use default prices and currency.
- Country-specific pricing – Recommended if you sell in multiple countries and need localized pricing.
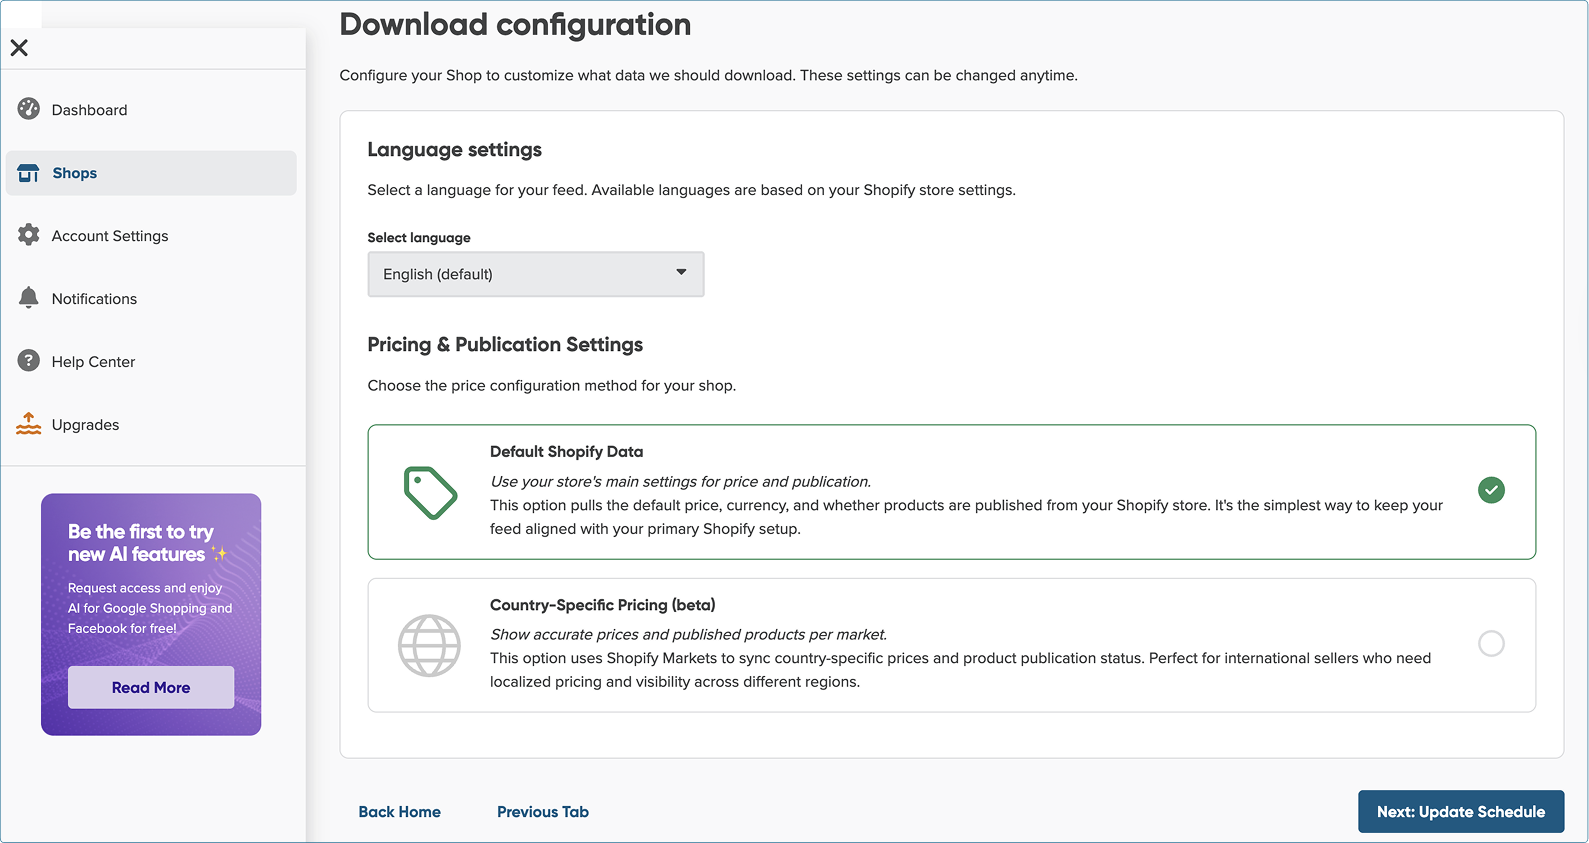
3. If you selected Default Shopify Data, click Save Changes and continue to STEP 4.
4. If you selected Country-specific pricing (beta), click + Choose Countries.
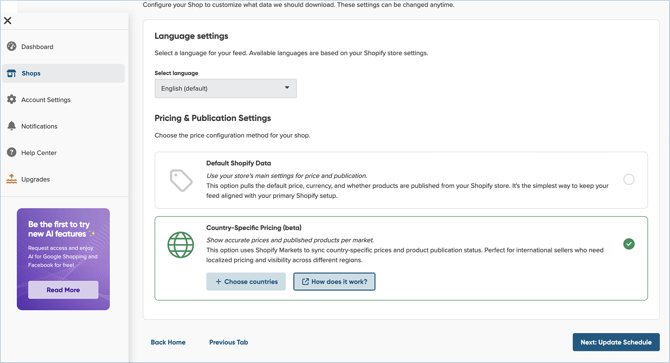
And then
-
- A pop-up will show the countries for which you have set up markets in Shopify.
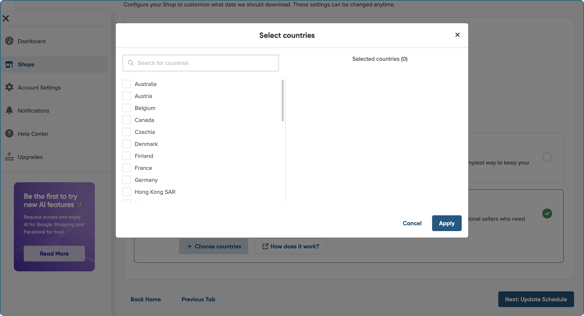
- Select the specific countries for which you want to fetch localized pricing and availability.
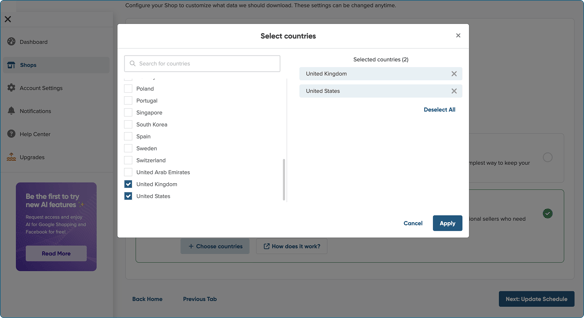
-
Note: If you are on a free trial, you are currently limited to selecting a maximum of three countries. After the free trial, you can select all your markets.
- A pop-up will show the countries for which you have set up markets in Shopify.
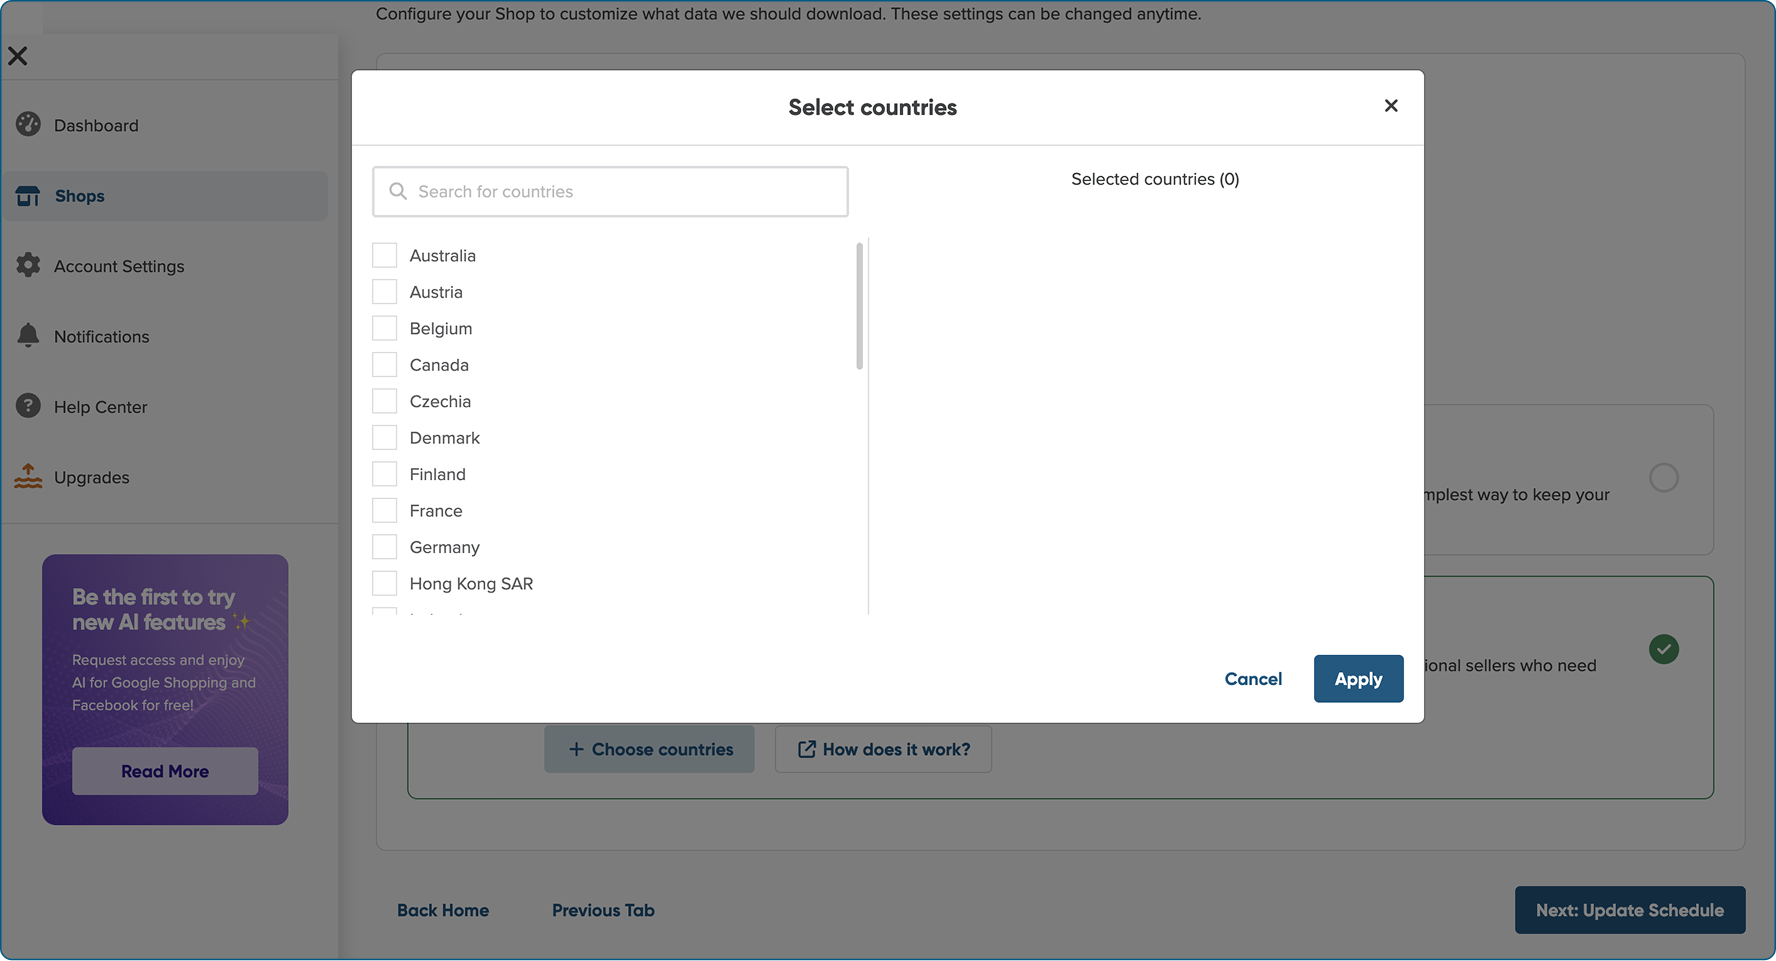
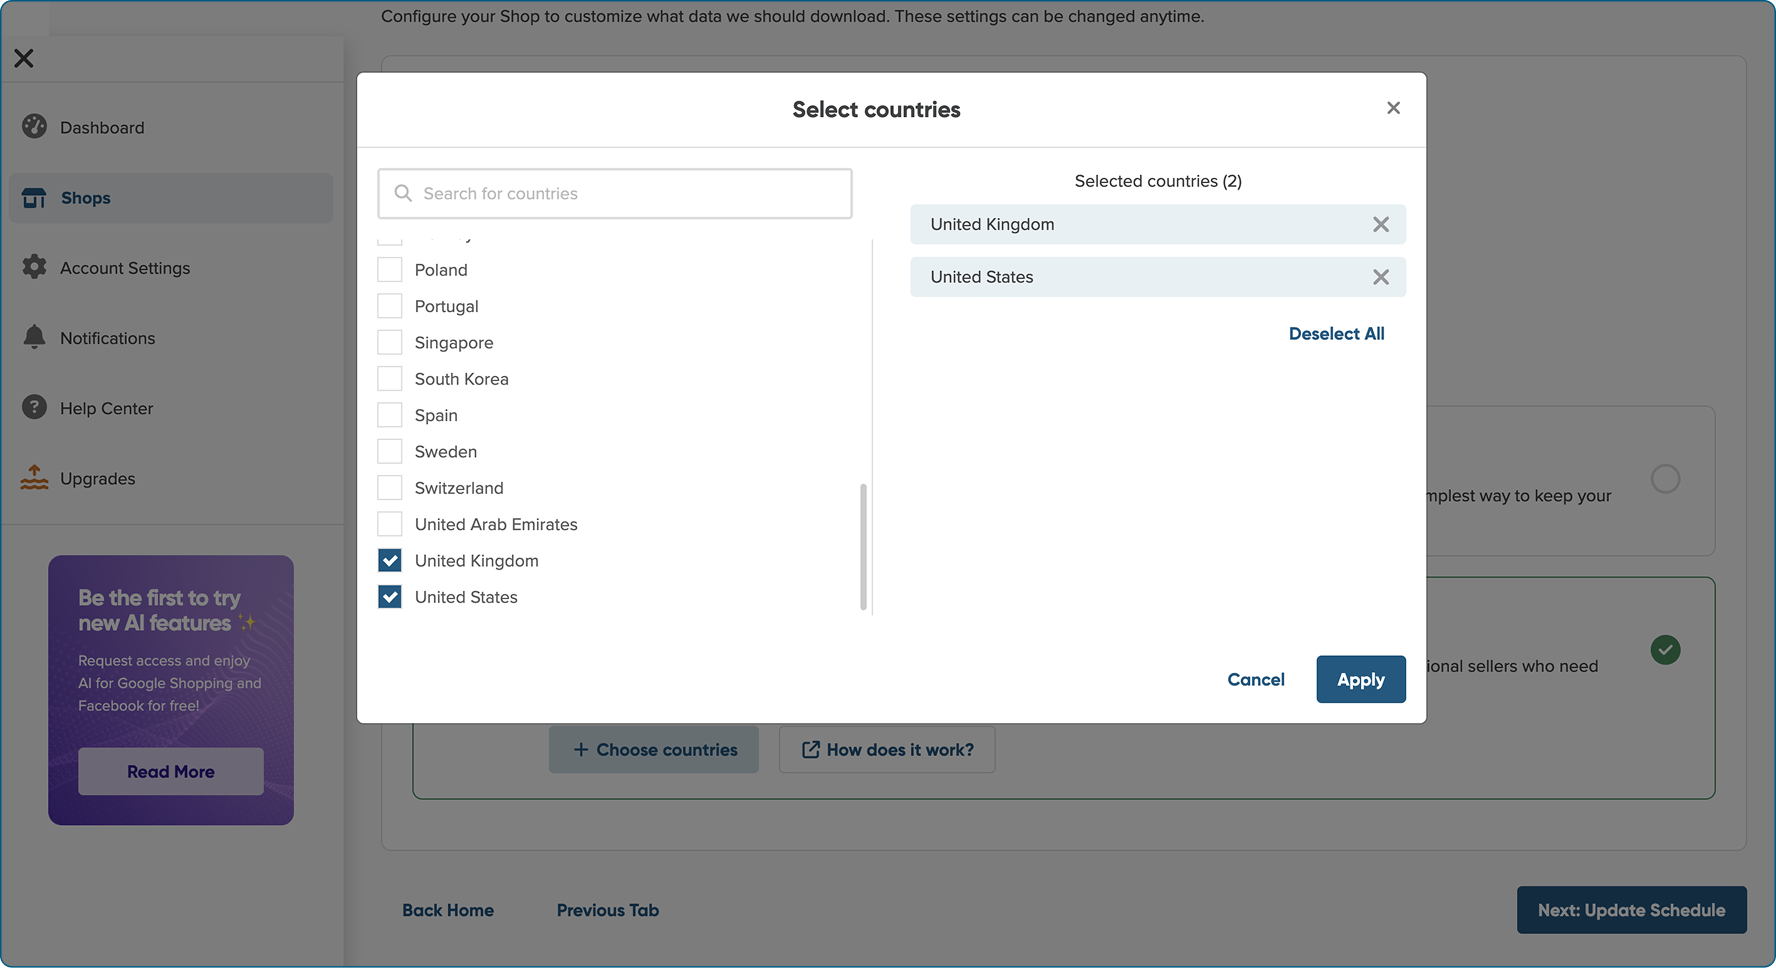
5. Click Apply.
Step 4: Set the Update Schedule
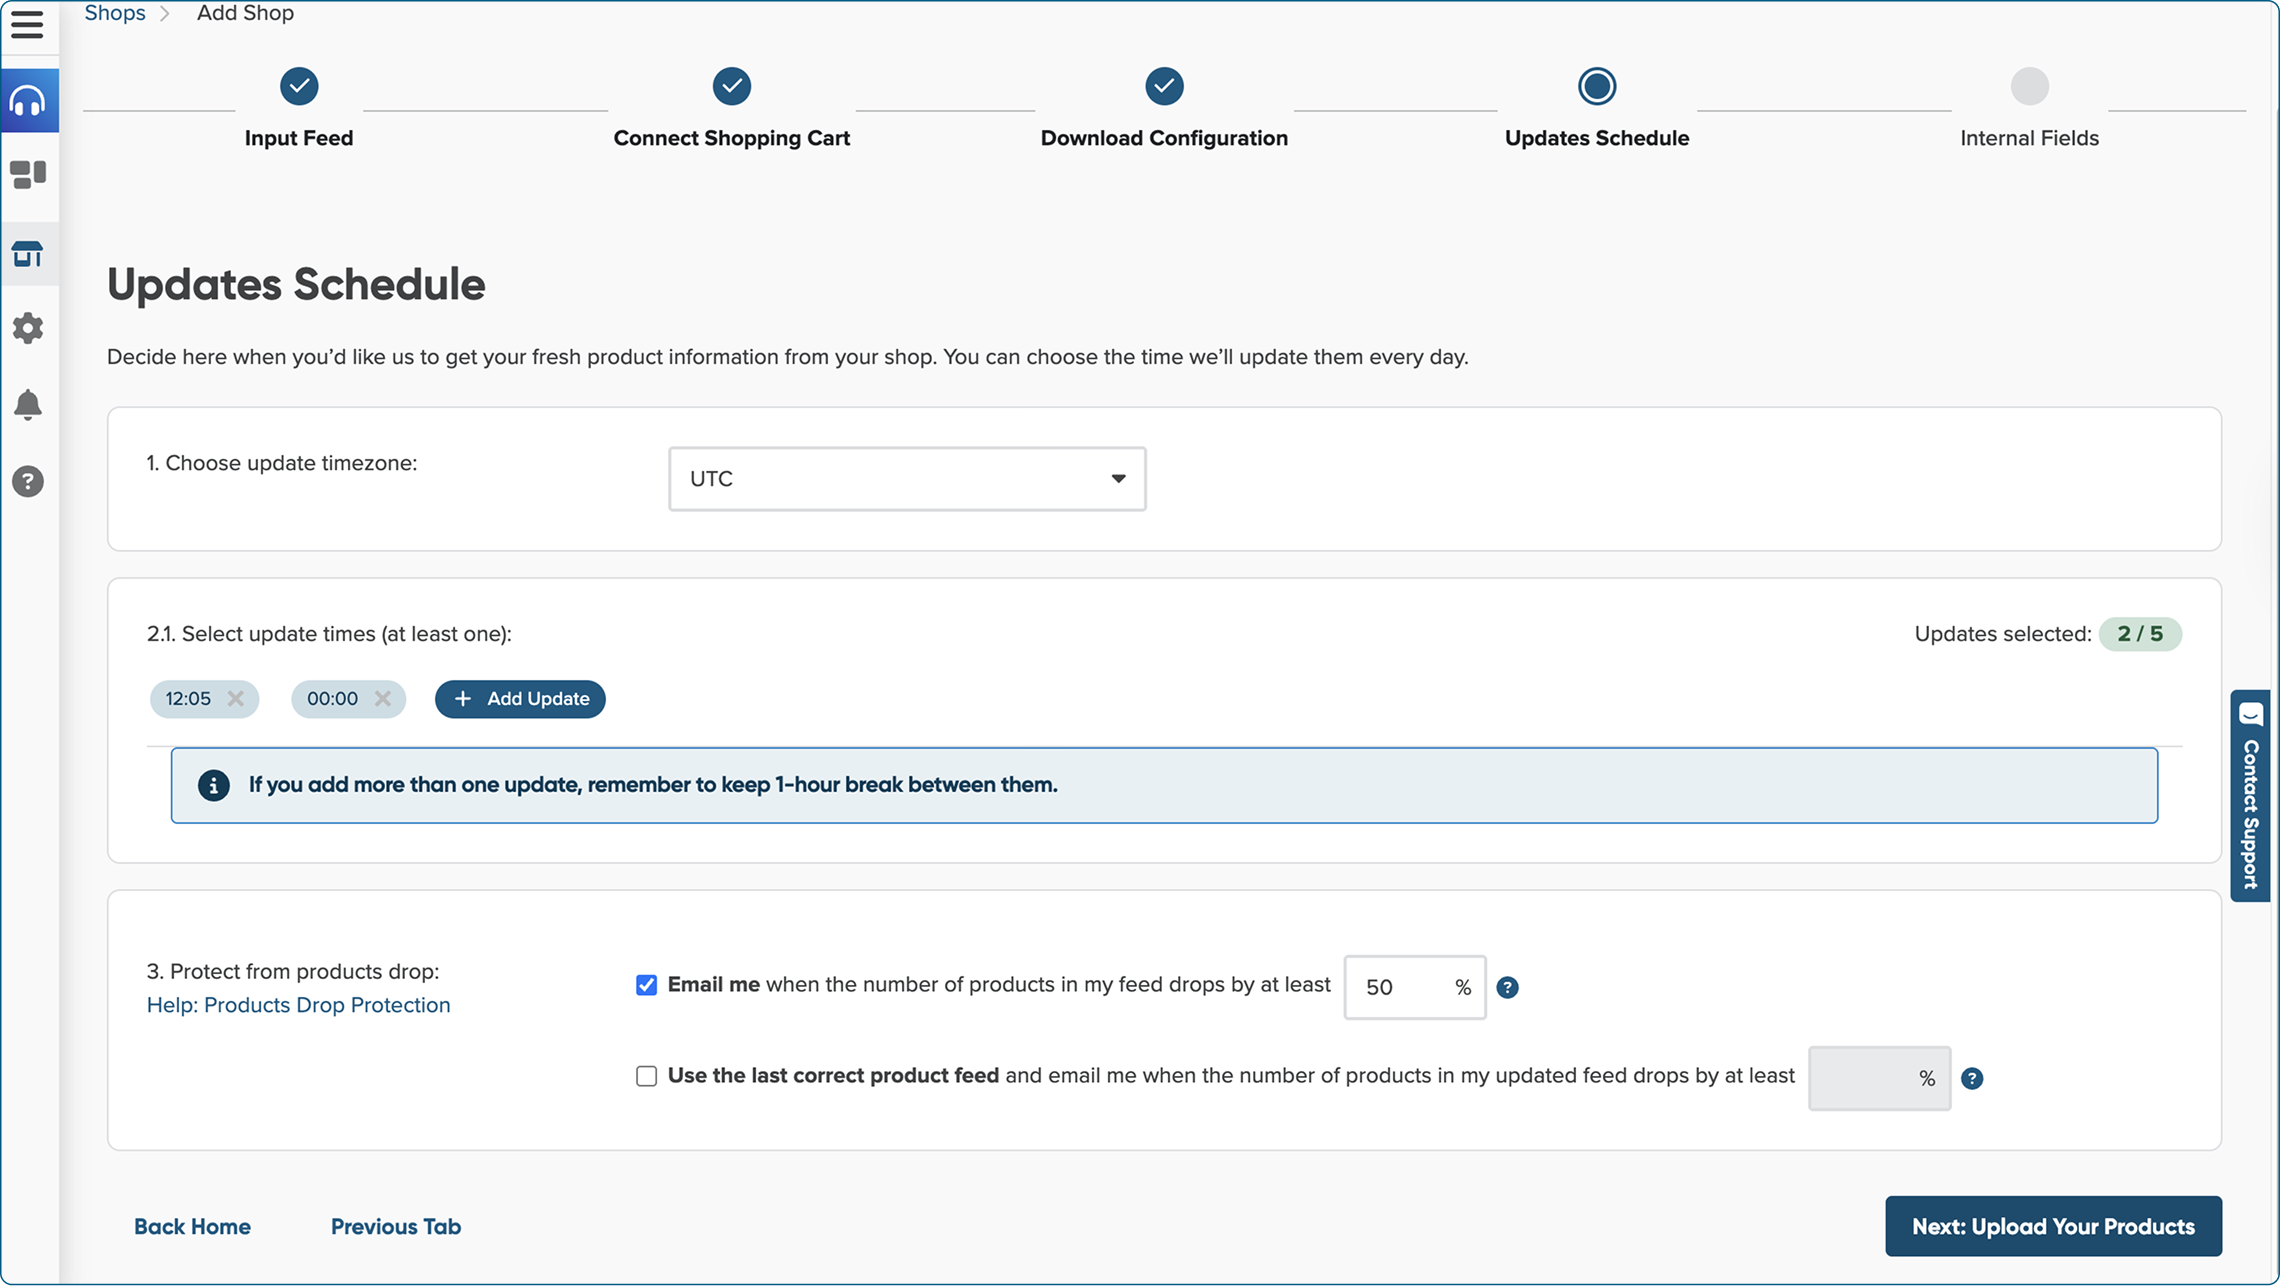
1. Choose your desired update frequency and time zone.
2. Click Next, Upload Your Products.
Step 5: Product Download and new fields
The product data will now be downloaded. This process might take a few moments.
Once the download is completed, you will find the price and currency information for each country in their corresponding fields:
-
price_{country code}
-
price_currency_{country code}
-
compare_at_price_{country code}
-
compare_at_price_currency_{country code}
-
published_in_{country code}
Let’s take a look at how these fields appear, using the United States as an example.
- price_us
- price_currency_us
- compare_at_price_us
- compare_at_price_currency_us
- published_in_us
💡 You can use them to create elaborate mappings for specific countries.
Moreover, we will automatically map the new fields in channel mapping if the downloaded country data matches the country you selected for your output feed.
How country settings shape your channel feed
When you configure a new channel (e.g., Google Shopping) and select one of the countries you configured, DataFeedWatch automatically will use the correct localized data.
- Price & Currency: Instead of seeing only a single price field, you will see new fields with suffixes with the country code, e.g., price_us, price_currency_us, and compare_at_price_us.
When setting up a Google Shopping US channel, the platform intelligently automaps the Google Shopping price field to your localized field (price_us).
- Product Availability: You will also have availability fields for each country, e.g., published_in_us (United States). You can use these fields to exclude products not available in a specific market from that channel's feed.
How to exclude products not available in a specific market from that channel's feed?
To do that, you can use the Include/Exclude Products page to create a simple, powerful rule to filter unavailable products:
1. Go to the shop, and select the channel. (e.g Google Shopping).
2. Then go to the Mapping, and proceed to Include/Exclude Products (a step just after the Map Fields).
3. Click on the Exclude Associated Variants tab for your specific channel feed (in the example for the United States).
4. Click Add Rule.
5. Set the rule as follows:
Exclude all variants of a product if for any variant → published_in_us → is not equal to → true
6. Confirm.
7. Click Save and Proceed.
