Using FTP connections is another way to upload your data feeds to various sales channels - including Google Shopping. While it may seem unknown to you, you’ll find that it’s quite simple to set up. And don’t worry if you’re not too tech savvy.
In addition, if you’re using a dedicated feed management tool like DataFeedWatch you can use this method to upload your feeds with additional benefits.
So let’s check out what FTP connections are, how they work, the benefits, and how to troubleshoot any potential problems.
What are FTP file transfers?
You may have never heard of transferring files by FTP connections, or maybe you have but the whole process sounded too complicated to get into. Let’s start from the basics and explore what FTPs are outside of the PPC world.
FTP stands for File Transfer Protocol. In the simplest terms possible, it lets two (or more) systems communicate between each other and transfer files.
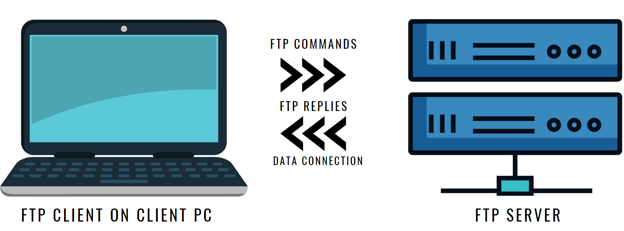
For context, imagine you’re typing in a full URL into your browser’s search bar. Normally you access most websites starting with http:// often followed by a www. HTTP stands for ‘Hypertext Transfer Protocol’ and allows systems to communicate on the World Wide Web.
FTP follows the same logic. But instead of starting with ‘http://’ you’ll see a line like this instead: ftp://uploads.google.com. And instead of letting access the internet through a web browser, it allows you to transfer files to other systems using your computer’s command prompt.
Data feeds and FTP
So, getting to data feeds - when you upload your feeds with a URL, you’re using an ‘http://’ connection and when you’re upload via FTP, you’re using an ‘ftp://’ connection. It’s just another way systems communicate with each other.
You’ll use this way of communicating to send your file to Google’s servers and it makes it possible to update your main feed up to 4 times a day.
Requirements: What you need to get started
Now that we understand what FTP is, here are the general requirements:
- You need to install an FTP client* on your computer or be familiar with using your computer’s command line. Or, if you’re using DataFeedWatch, we’ll replace the need for either of these two options.
*FTP clients are third-party software that let you use FTP connections without needing to type things into your computer’s command prompt manually. - An FTP address: this is the “url” example we showed above, but it can also be a series of numbers. For our purpose you’ll be using ftp://uploads.google.com since this is where you’re sending your data feed.
- An FTP account: If you’re not connecting anonymously then you’ll need a username and password. In this case you’ll set up your FTP account directly in Google Merchant Center and get your account details there.
A note about connection modes
There are two different modes when connecting called active or passive. As we’ll see below in the troubleshooting section, it’s recommended that you use a passive connection. ‘Active mode’ is always the default, so in order to use ‘passive mode’ you’ll need to manually choose it. We’ll explain how to do that for each method below.

Benefits of using FTP connections to upload your feed
Let’s take a look at the reasons why you might want to start using an FTP connection to upload your data feeds.
1, Allows multiple daily uploadsIt’s recommended to update your data feeds once a day, but what are the benefits of increasing that number to multiple times a day?
- It can help you increase your overall campaign performance.
- You won’t need to worry about advertising out of stock products.
- Gives a better experience for people viewing your ads.
All in all, using fresh data in your ads is always best. It decreases the chances of getting disapprovals in the Merchant Center (like
pricing errors) and prevents you from wasting your ad budget on products that are out of stock.
Any changes that are made will be reflected in your ads faster than if you were updating your feeds only once a day (or less often).
2. Easy to set upSetting up your FTP account and using it to send your feeds to Google Merchant Center isn’t complicated and it won’t take you a lot of time. And as a retailer, time and effort are two of your most valuable resources.
![]()
DataFeedWatch and FTP connections
If you use DataFeedWatch you may be familiar with these two ways of uploading feeds: directly using a file from your computer or using a URL like Google Sheets, for example.
Using FTP is another option you have that might be less well known. It requires a couple of additional steps than those first two, but is easy to do once you know these steps. Like we mentioned above, one of the benefits of going the FTP route is that it makes it possible to upload your main feed up to 4 times a day (since this is Google’s limit).
Every time that your feed is refreshed in DataFeedWatch, it will be sent via FTP to Google Merchant Center. So, to make the most out of these updates, make sure that your scheduled updates in DataFeedWatch are aligned with the times you usually make changes to your online store. Each store update in DataFeedWatch will result in a feed update which then triggers sending your updated feed to Merchant Center.
Follow these steps to upload your data feed via FTP with DataFeedWatch:
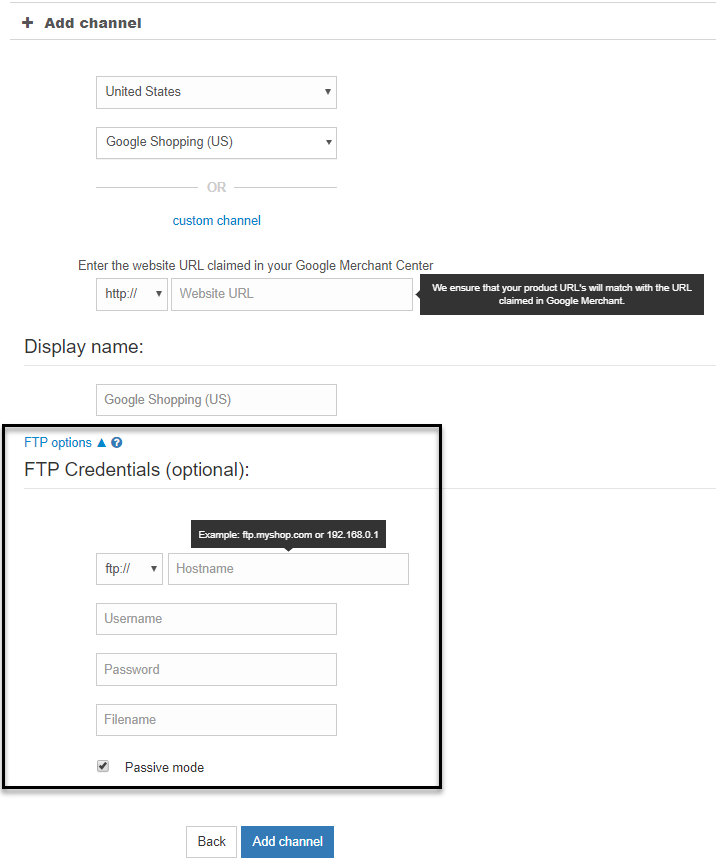
Once you create your FTP account in Google Merchant Center (more on that below), you’ll be able to connect it to your DataFeedWatch account.
- Log into your account and click on ‘Shops’
- Select your shop name
- Go to ‘Edit channel’
- Choose ‘FTP options’ and fill in the information
![]()
How to set up your FTP account and connect to Google
Generally speaking, there are many ways you can create an FTP account. But for the purpose of uploading your product feeds to Google, you’ll be able to create it directly in Google Merchant Center. Let’s go through the steps together:
Creating your FTP account in Google Merchant Center
- Log in to your Google Merchant Center account
- Find the dropdown menu with 3 dots and then choose SFTP/FTP/GCS > SFTP/FTP
- Since we’re using FTP, choose the ‘Create an FTP account’ option and follow the steps there
- Your username will be automatically created, then click “Generate Password” which will create a password for you and activate your account.
- Next you’ll see a popup window with this password. Make sure to keep this password in a safe place, because you won’t be able to access it once the popup is dismissed.
Having trouble logging into your account right away? This is normal, so you might need to wait a couple of hours for it to start working.
Uploading your product feed file using FTP
So, how does uploading your files via FTP actually work? There are two main ways you can go about this:
- The first is using a third party program, or client. This is the easiest way, and will work well for all beginners.
- The second is using the command line on your computer and the instructions for this will differ depending on your computer’s operating system.
Note for DataFeedWatch users: You can skip this step and just connect your FTP account while logged in to your DataFeedWatch account.
Let’s take a look at each more in depth.
Third-party clients
If the idea of uploading your feeds using your computer’s command line sounds daunting, then using a third party software will be perfect for you. They’re also known as FTP clients.
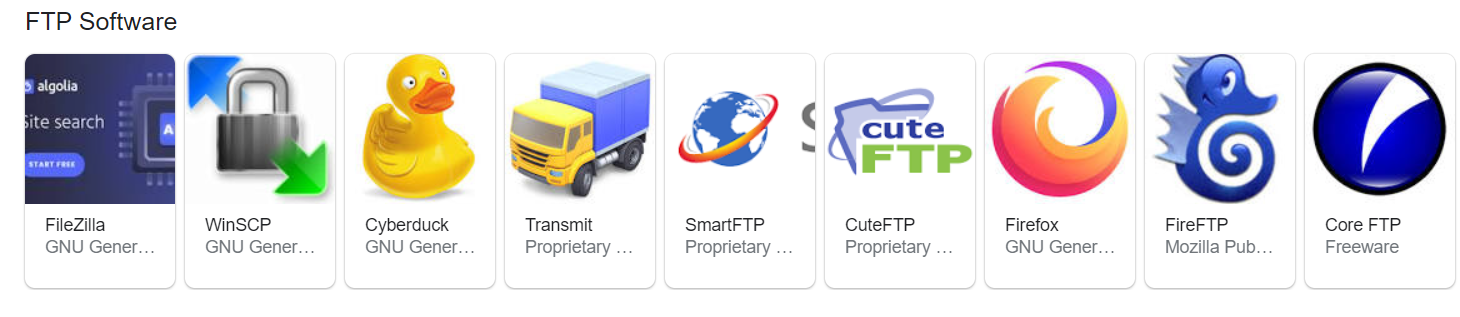
Some common ones are:
- FileZilla: This one is for Windows users and is a free, open source solution. You can download the client from their website, check for the latest updates and get other helpful information. (Also works for Linux users)
- WinSCP: This is another free, open source client only for Windows users. They have over 150 million downloads and updates with new features and improvements.
- Fetch: This Mac specific software can be used with their free trial for 15 days and then can be purchased for $29.
- Cyberduck: Works for both Windows and Mac users. It’s a libre server and cloud storage browser with regularly published updates and improvements.
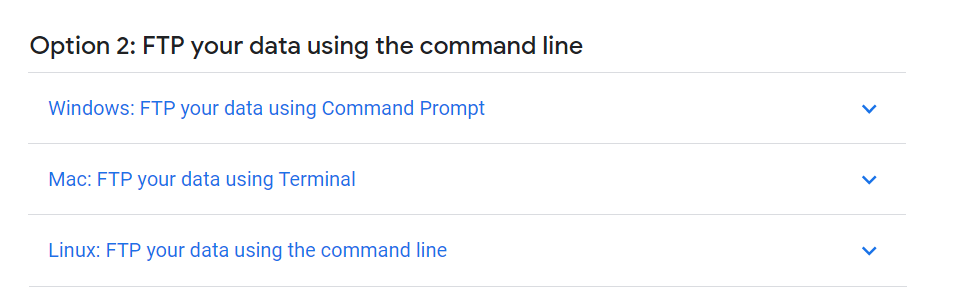
Using the command line
Using the command line to FTP your files can sometimes lead to technical issues, especially for Mac users. For instance, encountering Mac zsh permission denied errors is a common challenge that can disrupt file uploads, often requiring users to update permissions or adjust system preferences for seamless execution. But, with the help of tutorials, anyone should be able to manage it. There will be different methods of doing this depending on whether you're using a Windows, Mac, or Linux computer.
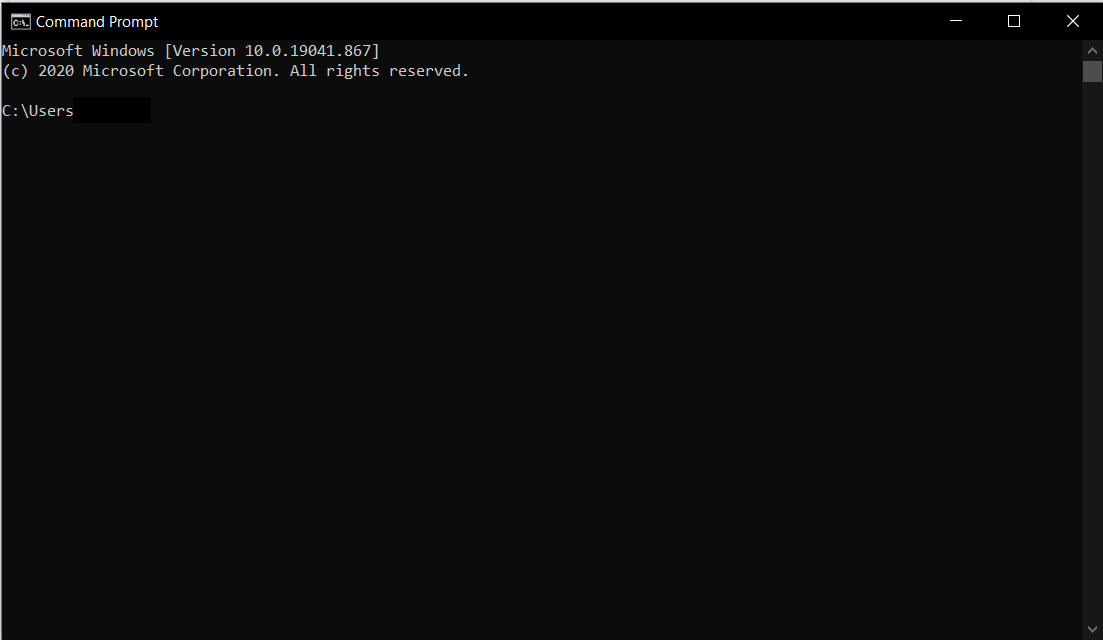
There are thorough instructions on the Merchant Center help section for each.
A note about scheduled fetches
You can also use FTP to upload your feeds with scheduled fetches, but it works a bit differently. In this case you use your own servers to host your files and having a username or password becomes optional. Because of this, the username information you see under the ‘SFTP / FTP /GCS’ section of Google Merchant Center is for accessing Google’s server, not yours.

6 Common issues and how to troubleshoot them
While setting up your FTP is quite simple, you may run into a few roadblocks. Here are the most common ones along with the solution.
- Server not found
First, check to make sure that you’re signing in with the correct URL: ftp://uploads.google.com
’.
But, if you’re using a FTP client then you’ll need to take the ‘ftp://’ from the url and just use ‘uploads.google.com - Login issues (username/password not found)
If you’re having troubles logging in, there may be a few different reasons why. You can use this list to narrow them down:
- Just created your account? You might need to wait a couple of hours for it to activate and then try again.
- Are you using the correct username? You can double check what it is in your Merchant Center account by clicking on the menu with 3 dots > SFTP / FTP /GCS > Username.
- Did you forget your password? Your password isn’t stored anywhere in Google Merchant Center as a security precaution, so in this case you’ll need to create a new one. To do that, log into your account > click on the tools icon > go to the SFTP/FTP/GCS tab > Settings > Generate new password > Confirm.
- Did you see a message saying “Connection refused”? It could be that you’re using a firewall that won’t let you get connected. Check that your firewall allowed the IP addresses found here.
If you’ve tried all of these solutions but continue to have issues logging in, there might be a more advanced technical problem. In that case you can get in touch with Google’s support and see how they can help you out.
- Just created your account? You might need to wait a couple of hours for it to activate and then try again.
- Error like "Can't build data connection" or "FTP folder error" appears
We mentioned earlier that there are active and passive FTP connections. If you see one of these errors, try using a passive FTP connection instead of an active one.
- Command line:Type in quote PASV prior to uploading your file to turn on passive mode
- FTP Client: There should be an option to turn on passive mode with any FTP client that you’re using
- Internet browser: Look in your internet browser settings (or advanced tools) and look for the option to turn the FTP passive mode on
- Command line:Type in quote PASV prior to uploading your file to turn on passive mode
- "Filename not allowed" error appears
If you see this error check these two things:
- Your file name shouldn’t contain spaces, so be sure to remove them if you have any
- Your file name needs to match the one you registered with your account exactly.
Fixing these two things should take care of the error.
- Your file name shouldn’t contain spaces, so be sure to remove them if you have any
- Data feed isn’t registered to the name you’re using
Just like with the error before, you’ll need to make sure that your file name is an exact match with the one you registered. - "FTP connection reset by peer" error appears
The ‘peer’ in this case is Google and it just means that the internet connection was lost while you were trying to upload your feed. You’ll need to try again. If your file size is bigger than 200 MB, it might help splitting it into smaller files and then trying once more.
![]()
Conclusion
Now that you have more information about what FTP connections are, you can consider using it as a new way to upload your product feeds. It’s suitable for any retailer or merchant, and if you don’t feel comfortable using your computer’s command line then there is software created for this purpose.